Intoduction
3D printing, which is also know as additive manufacturing, is a proccess where layers of material are built up to create a 3D object. In this webpage, I will show you how 3D printing is done through the Knight Chess Piece assignment.

Knight Chess Piece Design
The 3D design for the knight chess piece will be done on Fusion 360.
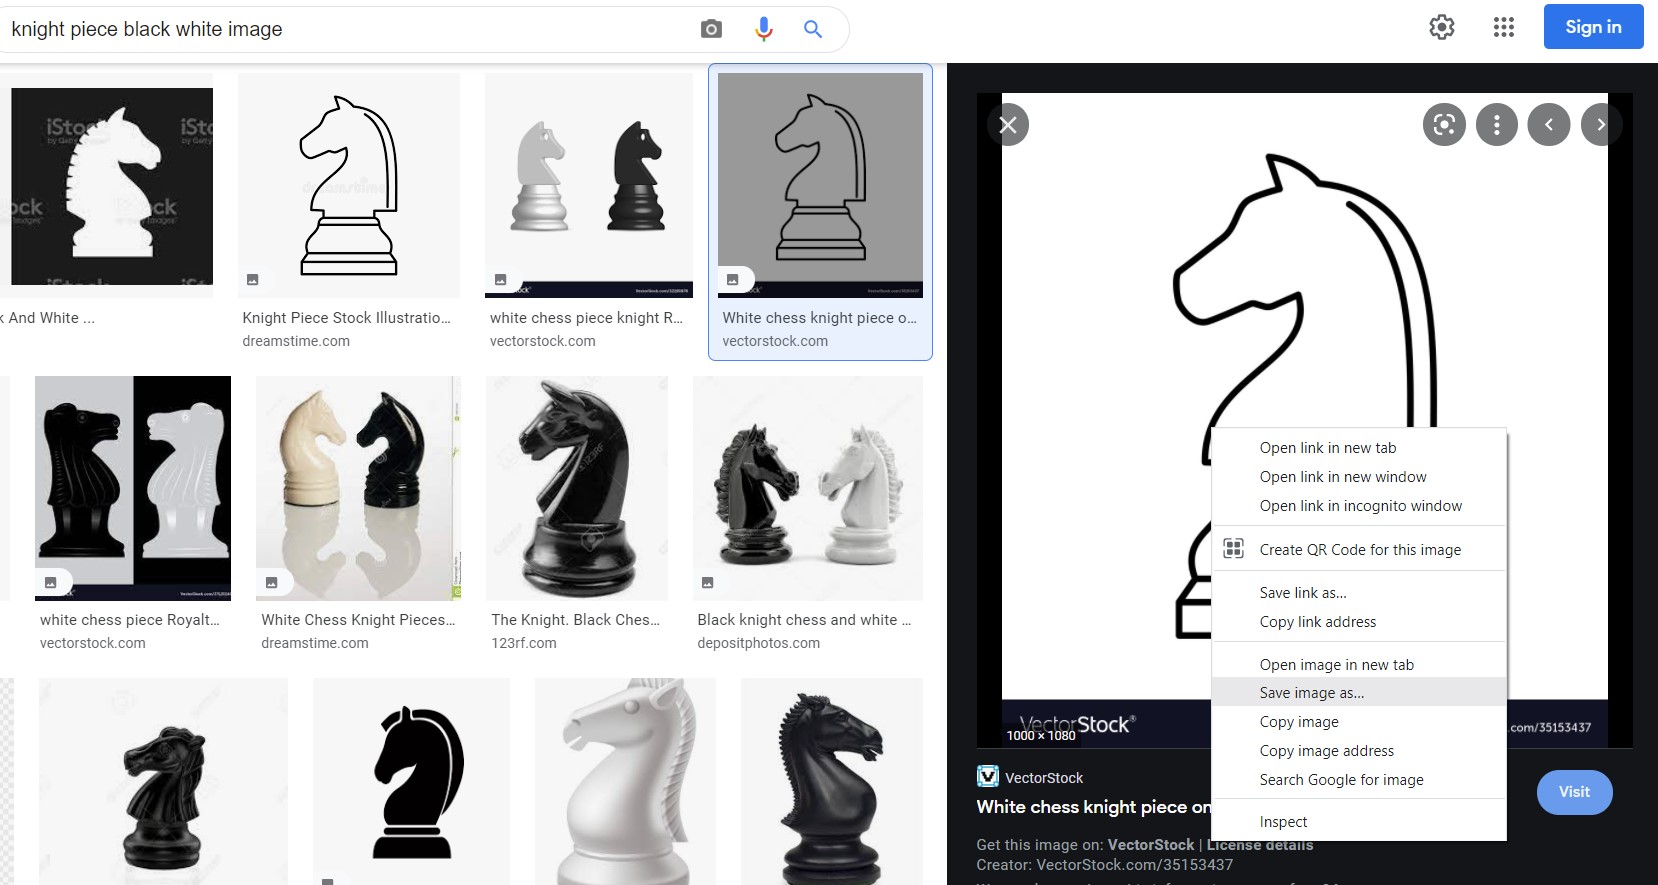
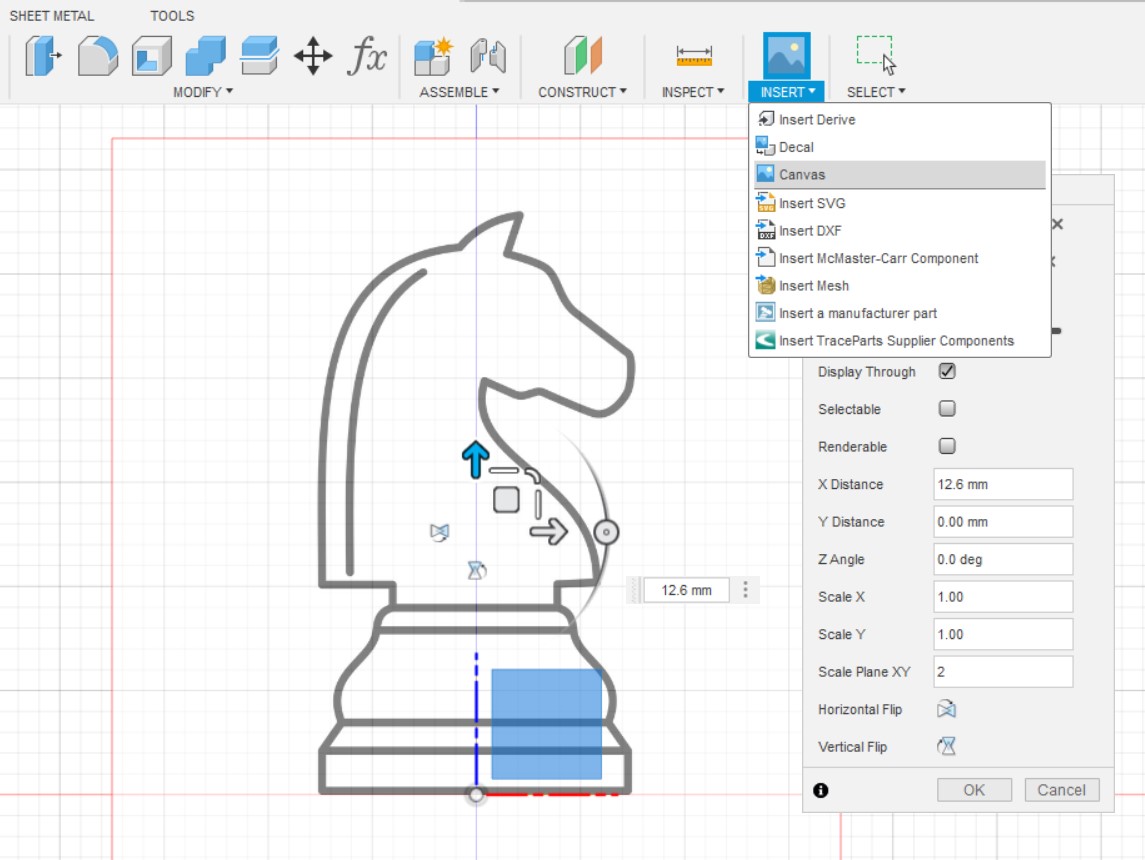
Go online and search for an image of a knight chess piece and save it to your computer. Then, use the Canvas function to import the image of a knight chess piece and place it perpendicular to the XY plane.
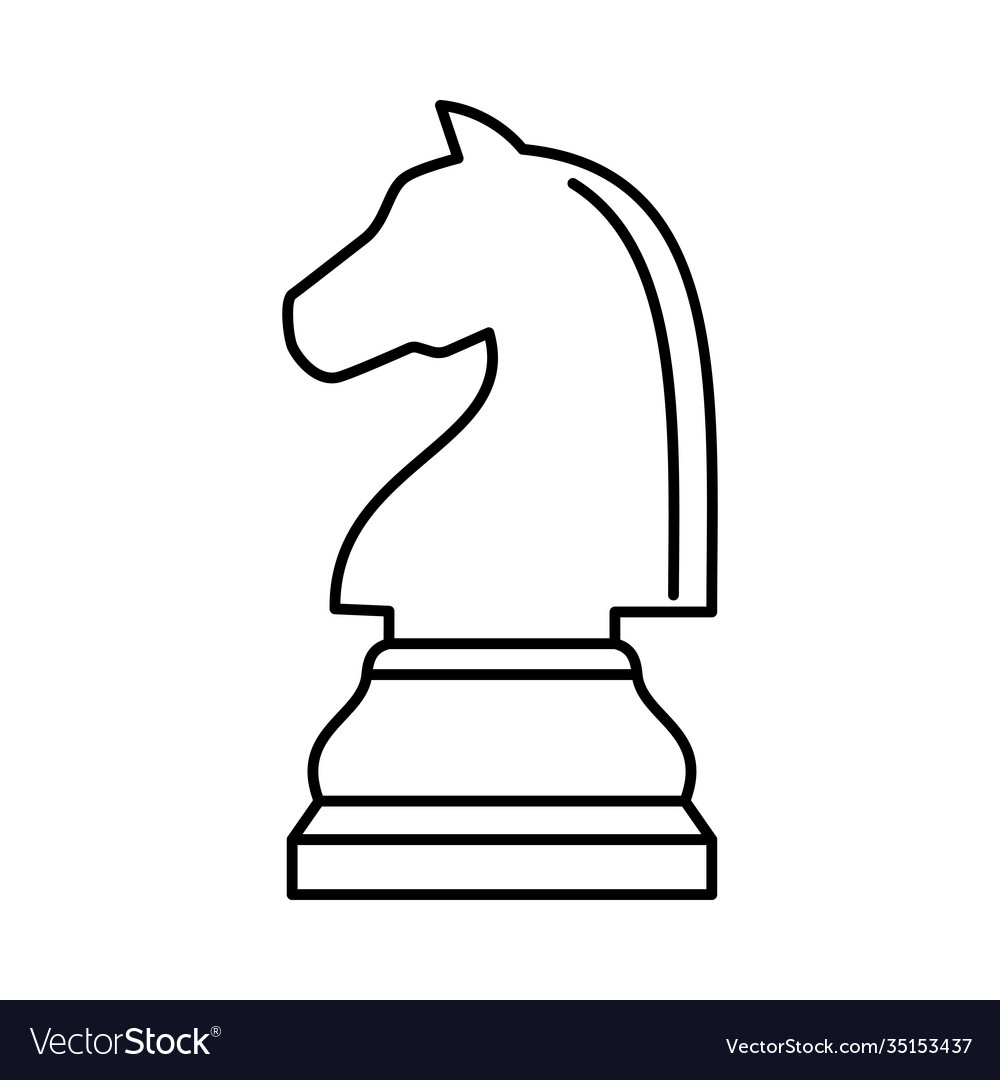
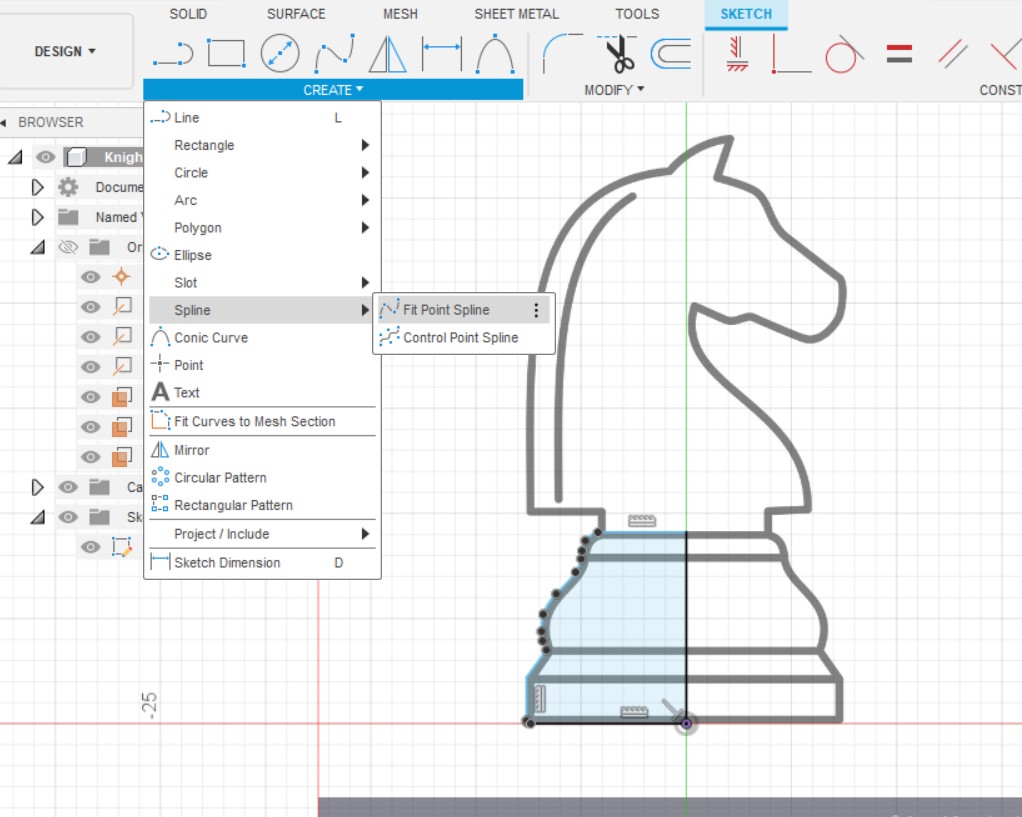
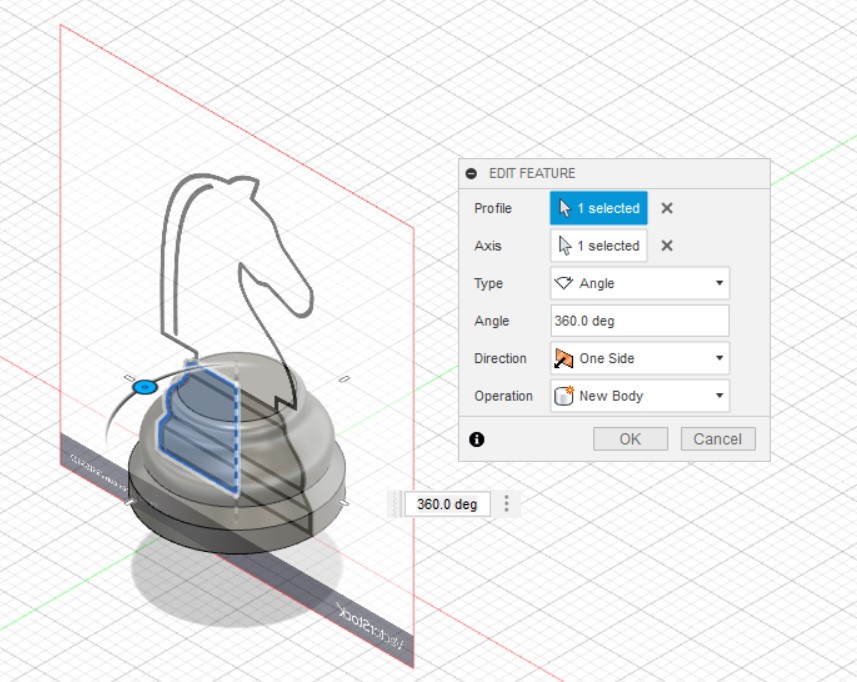
Sketch the base of the knight chess piece using Spline and revolve it.
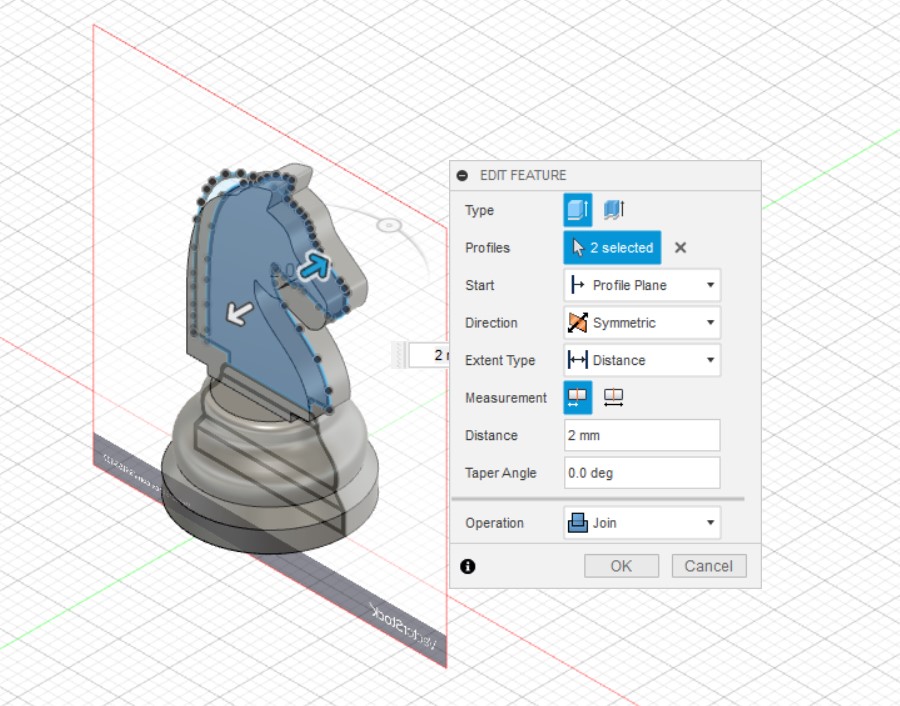
Do the same for the head of the chess piece but make sure to leave out the mane when extruding.
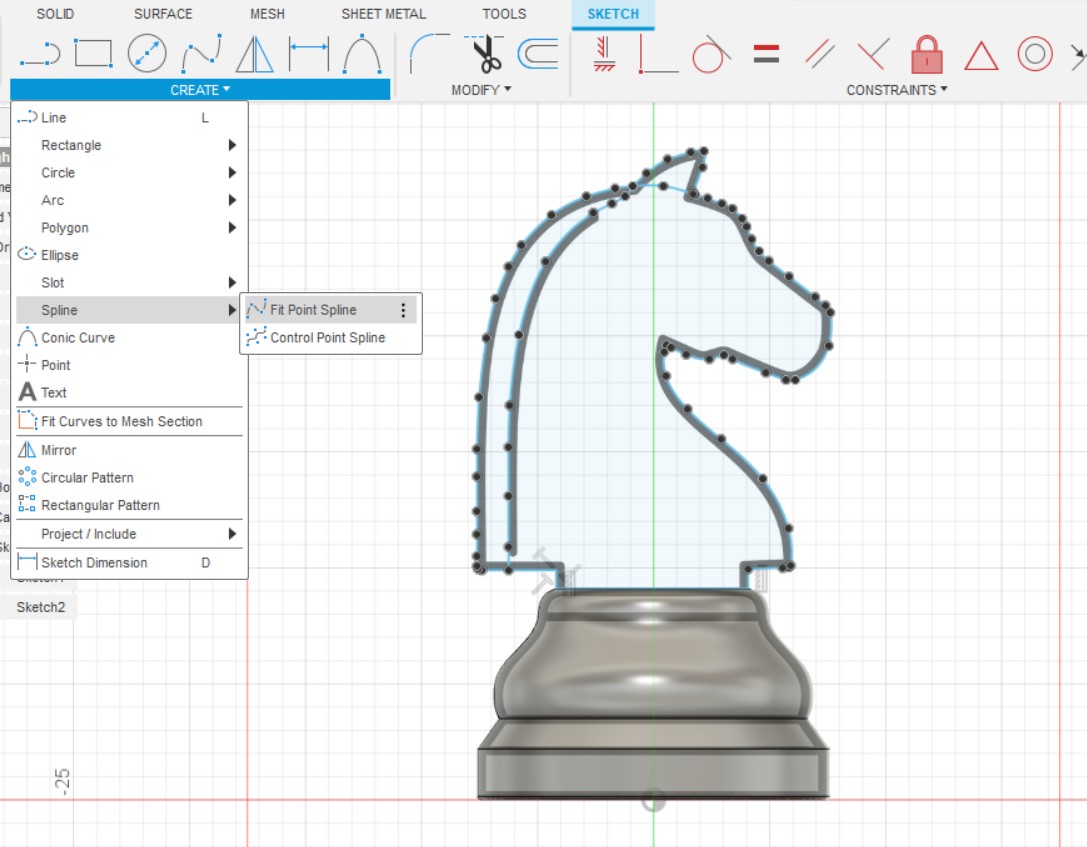
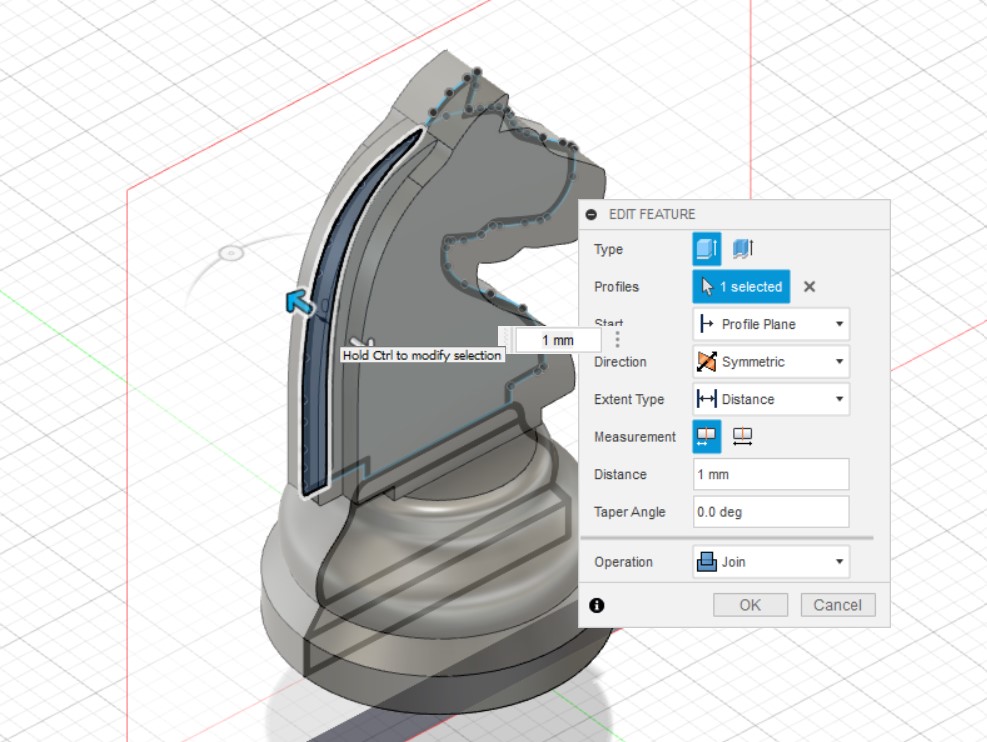
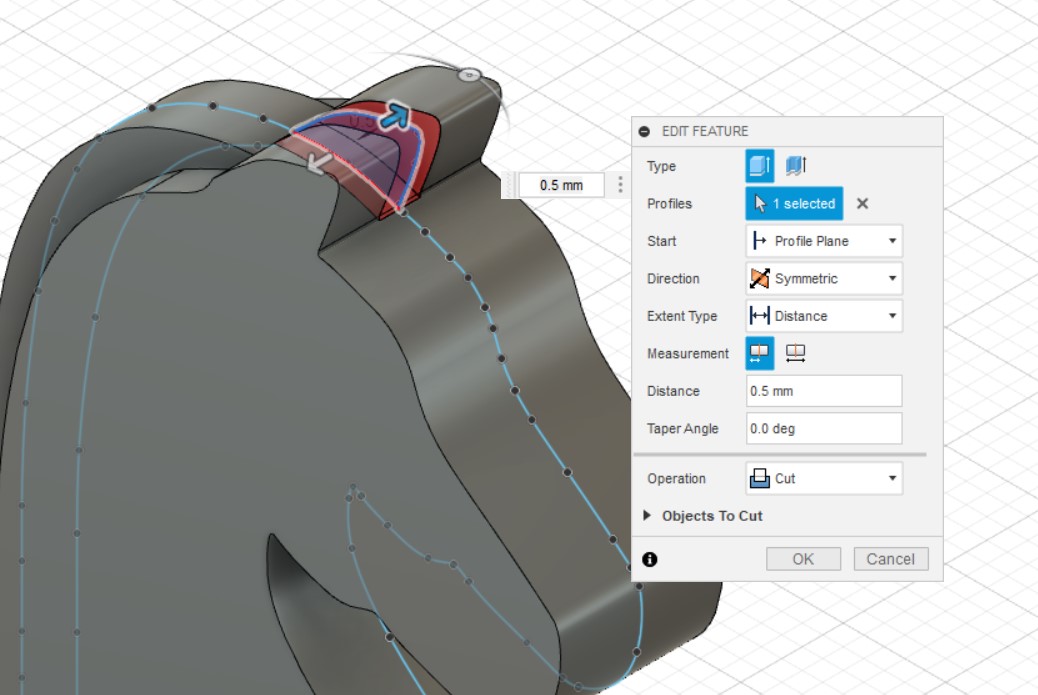
Extrude the mane of the horse head with a different width and cut out a portion of the ear segment.
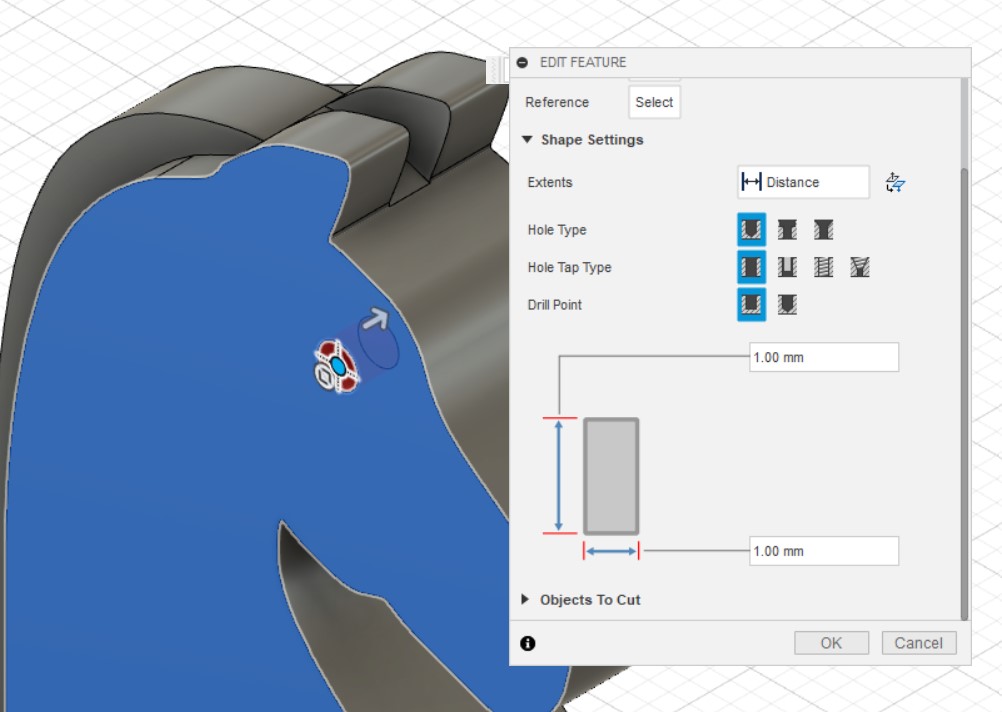
Lastly, add some eyes to it using the hole function, mirror it to the other side and .... you're done!
Ultimaker Cura
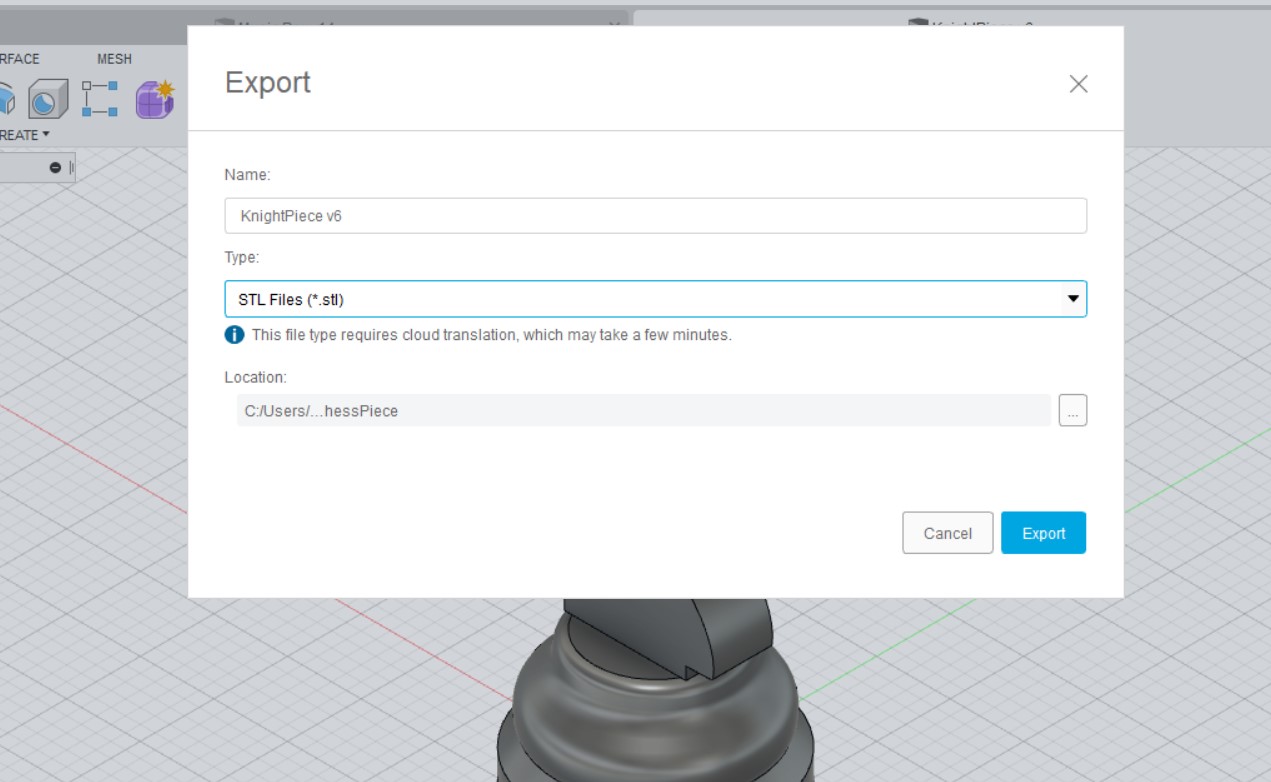
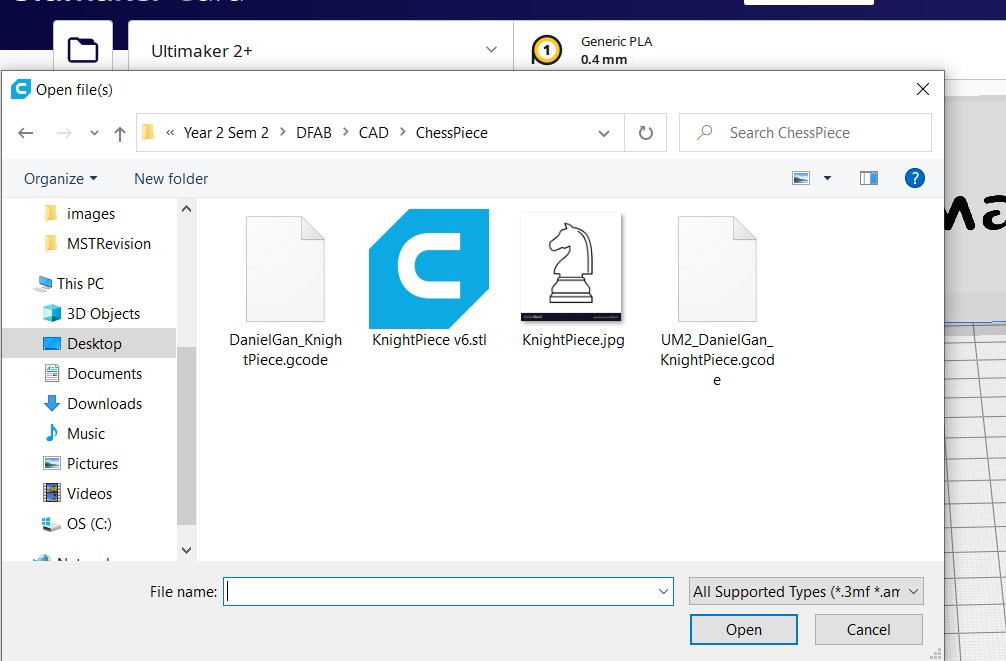
Export the file as STL and import it into Ultimaker Cura a slicing software which is used to convert the 3D model into instructions for the 3D printer.
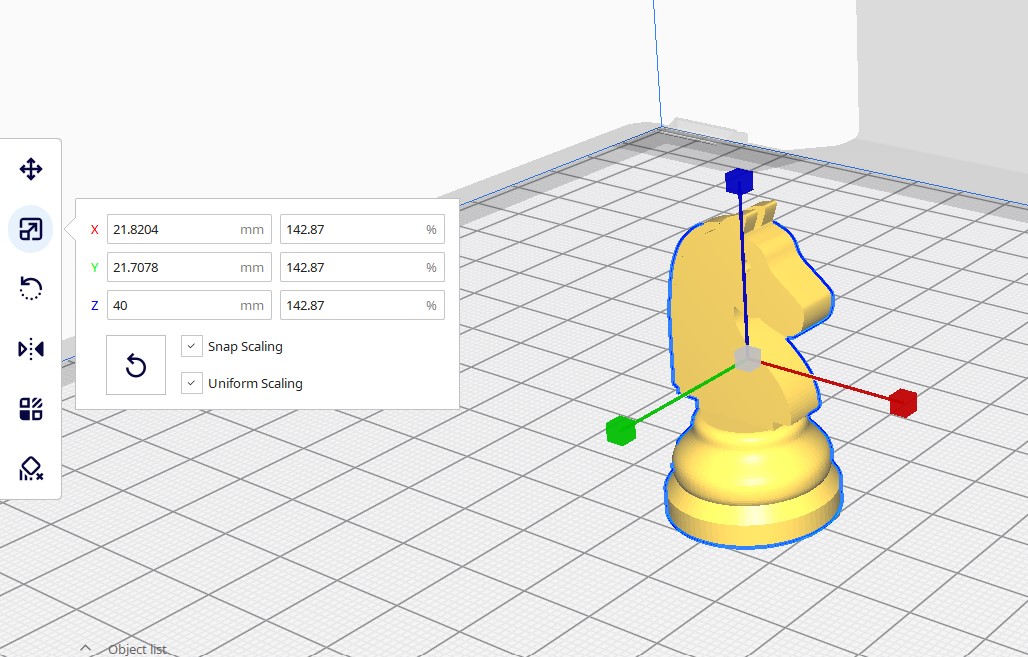
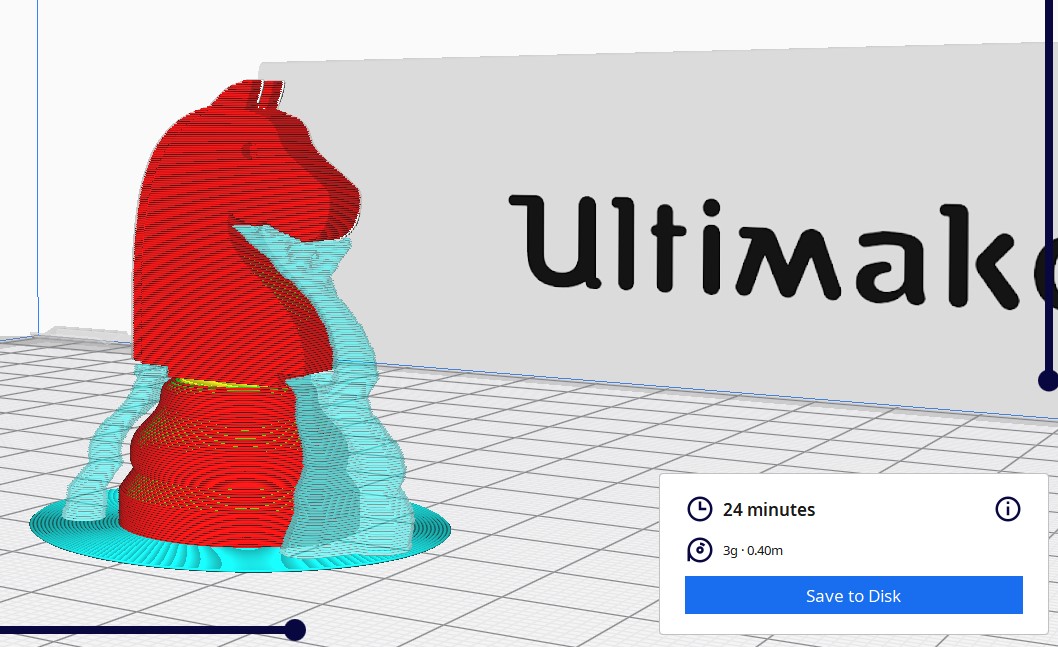
Now, we scale the knight chess piece and manage some of the printing settings.
- Scale height (Z-axis) to 40 mm.
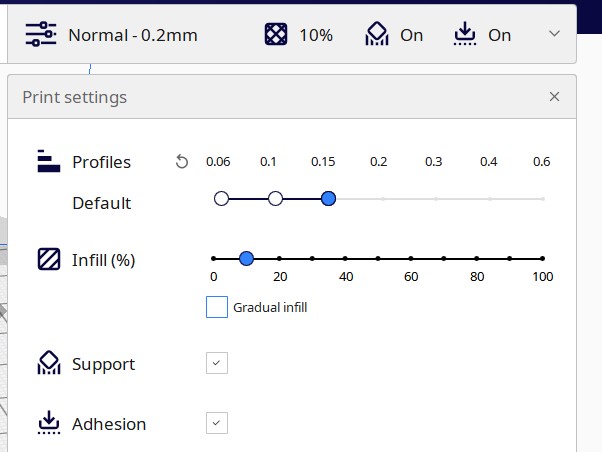
- Set infill(%): 10.
- Select Support and Adhesion.
- Select Ultimaker 2+ for Preset Printers.
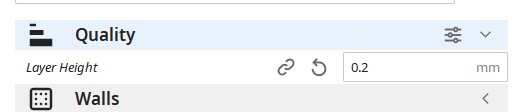
- Click on Custom in Printer Settings and set Quality: 0.2mm.

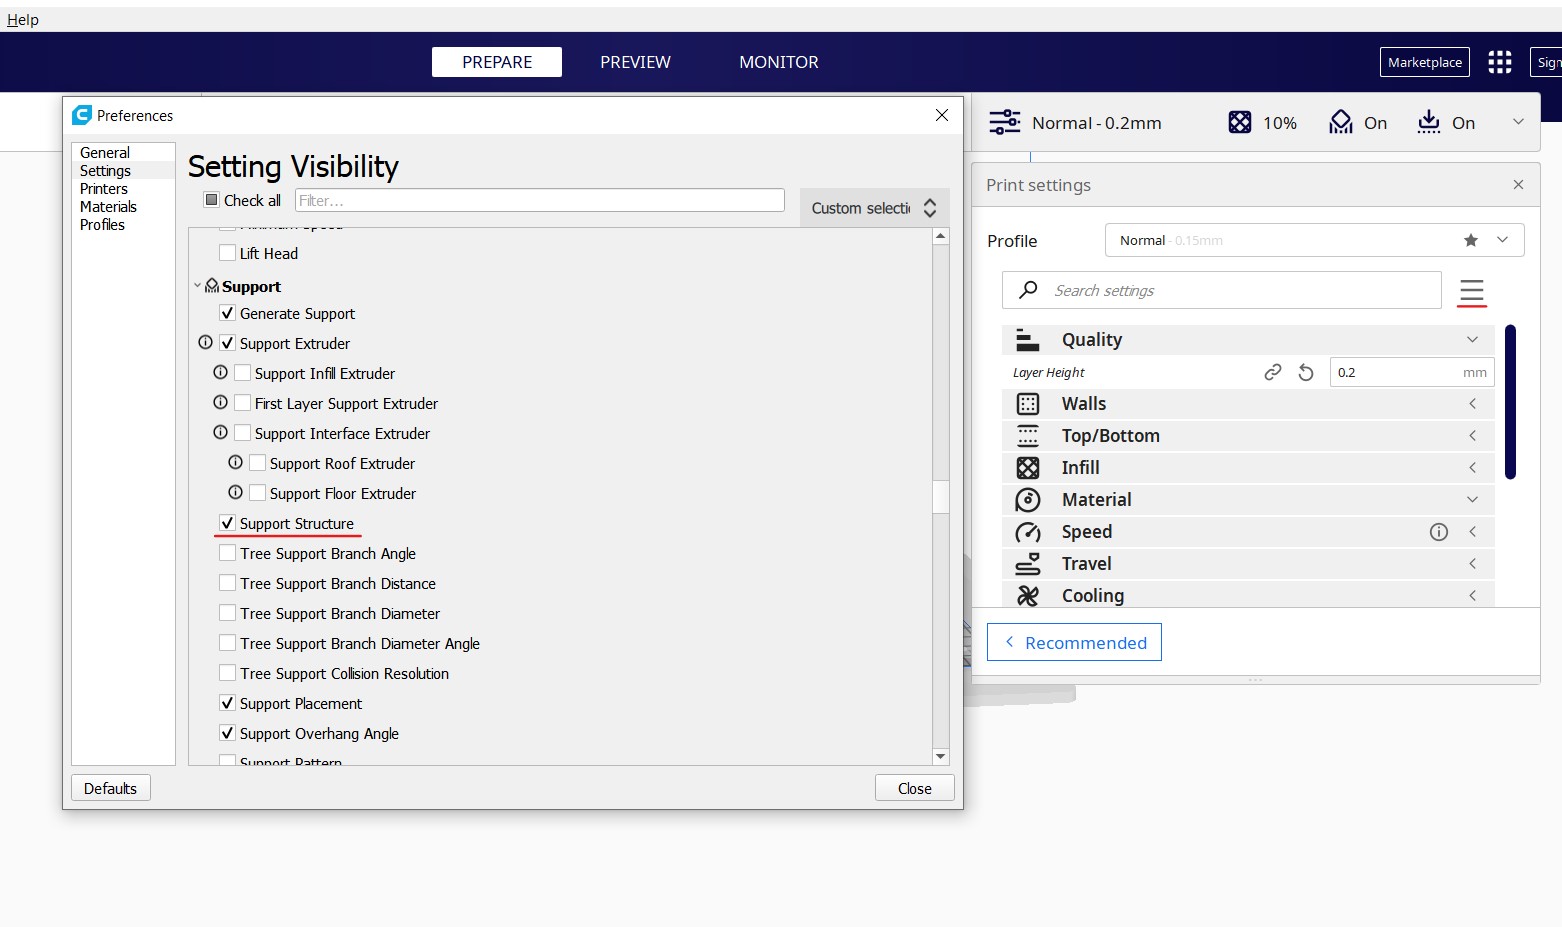
- Click on the 3 bar icon for Setting Visibility. Scroll to the Support section and click on Support Structure.
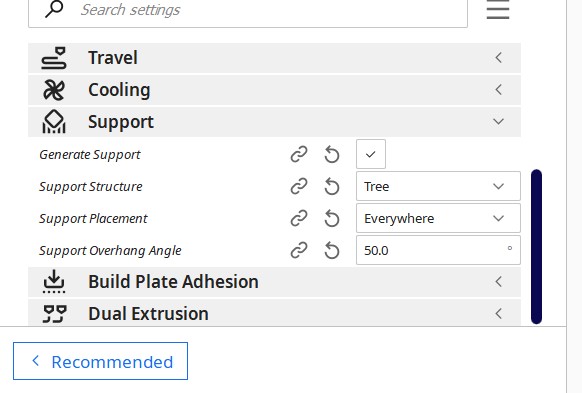
- Go back to Custom in Printer Settings and set Support Structure: Tree. We are using Tree Structure here as it is easier to remove and reduces printing time.
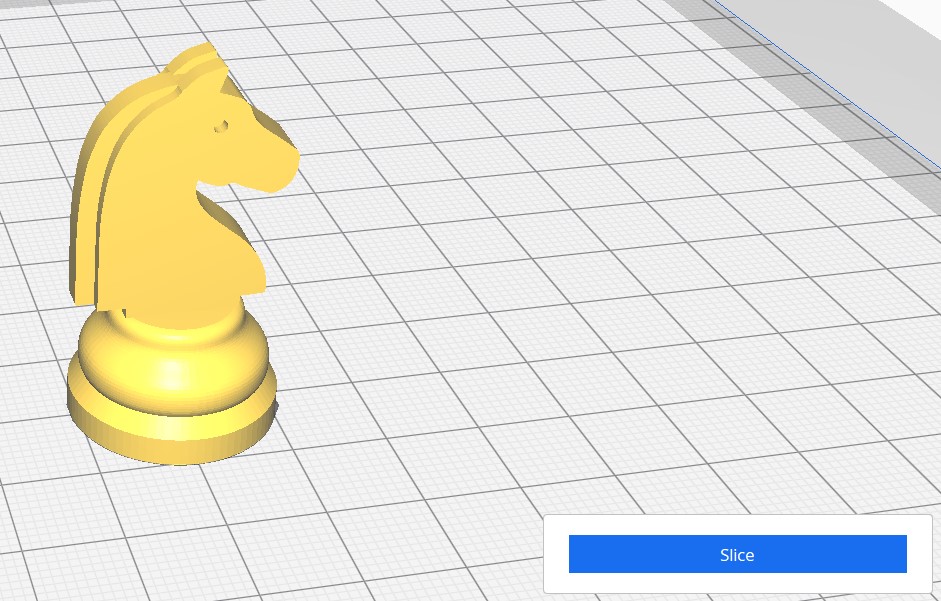
Click on slice at the bottom right of your screen to convert the 3D model into individual layers. Then click on preview at the top middle to see your supports and the printing time.
After completing all these steps on Cura, save the file and copy it over to a SD Card before heading over to the printer.
3D Printing
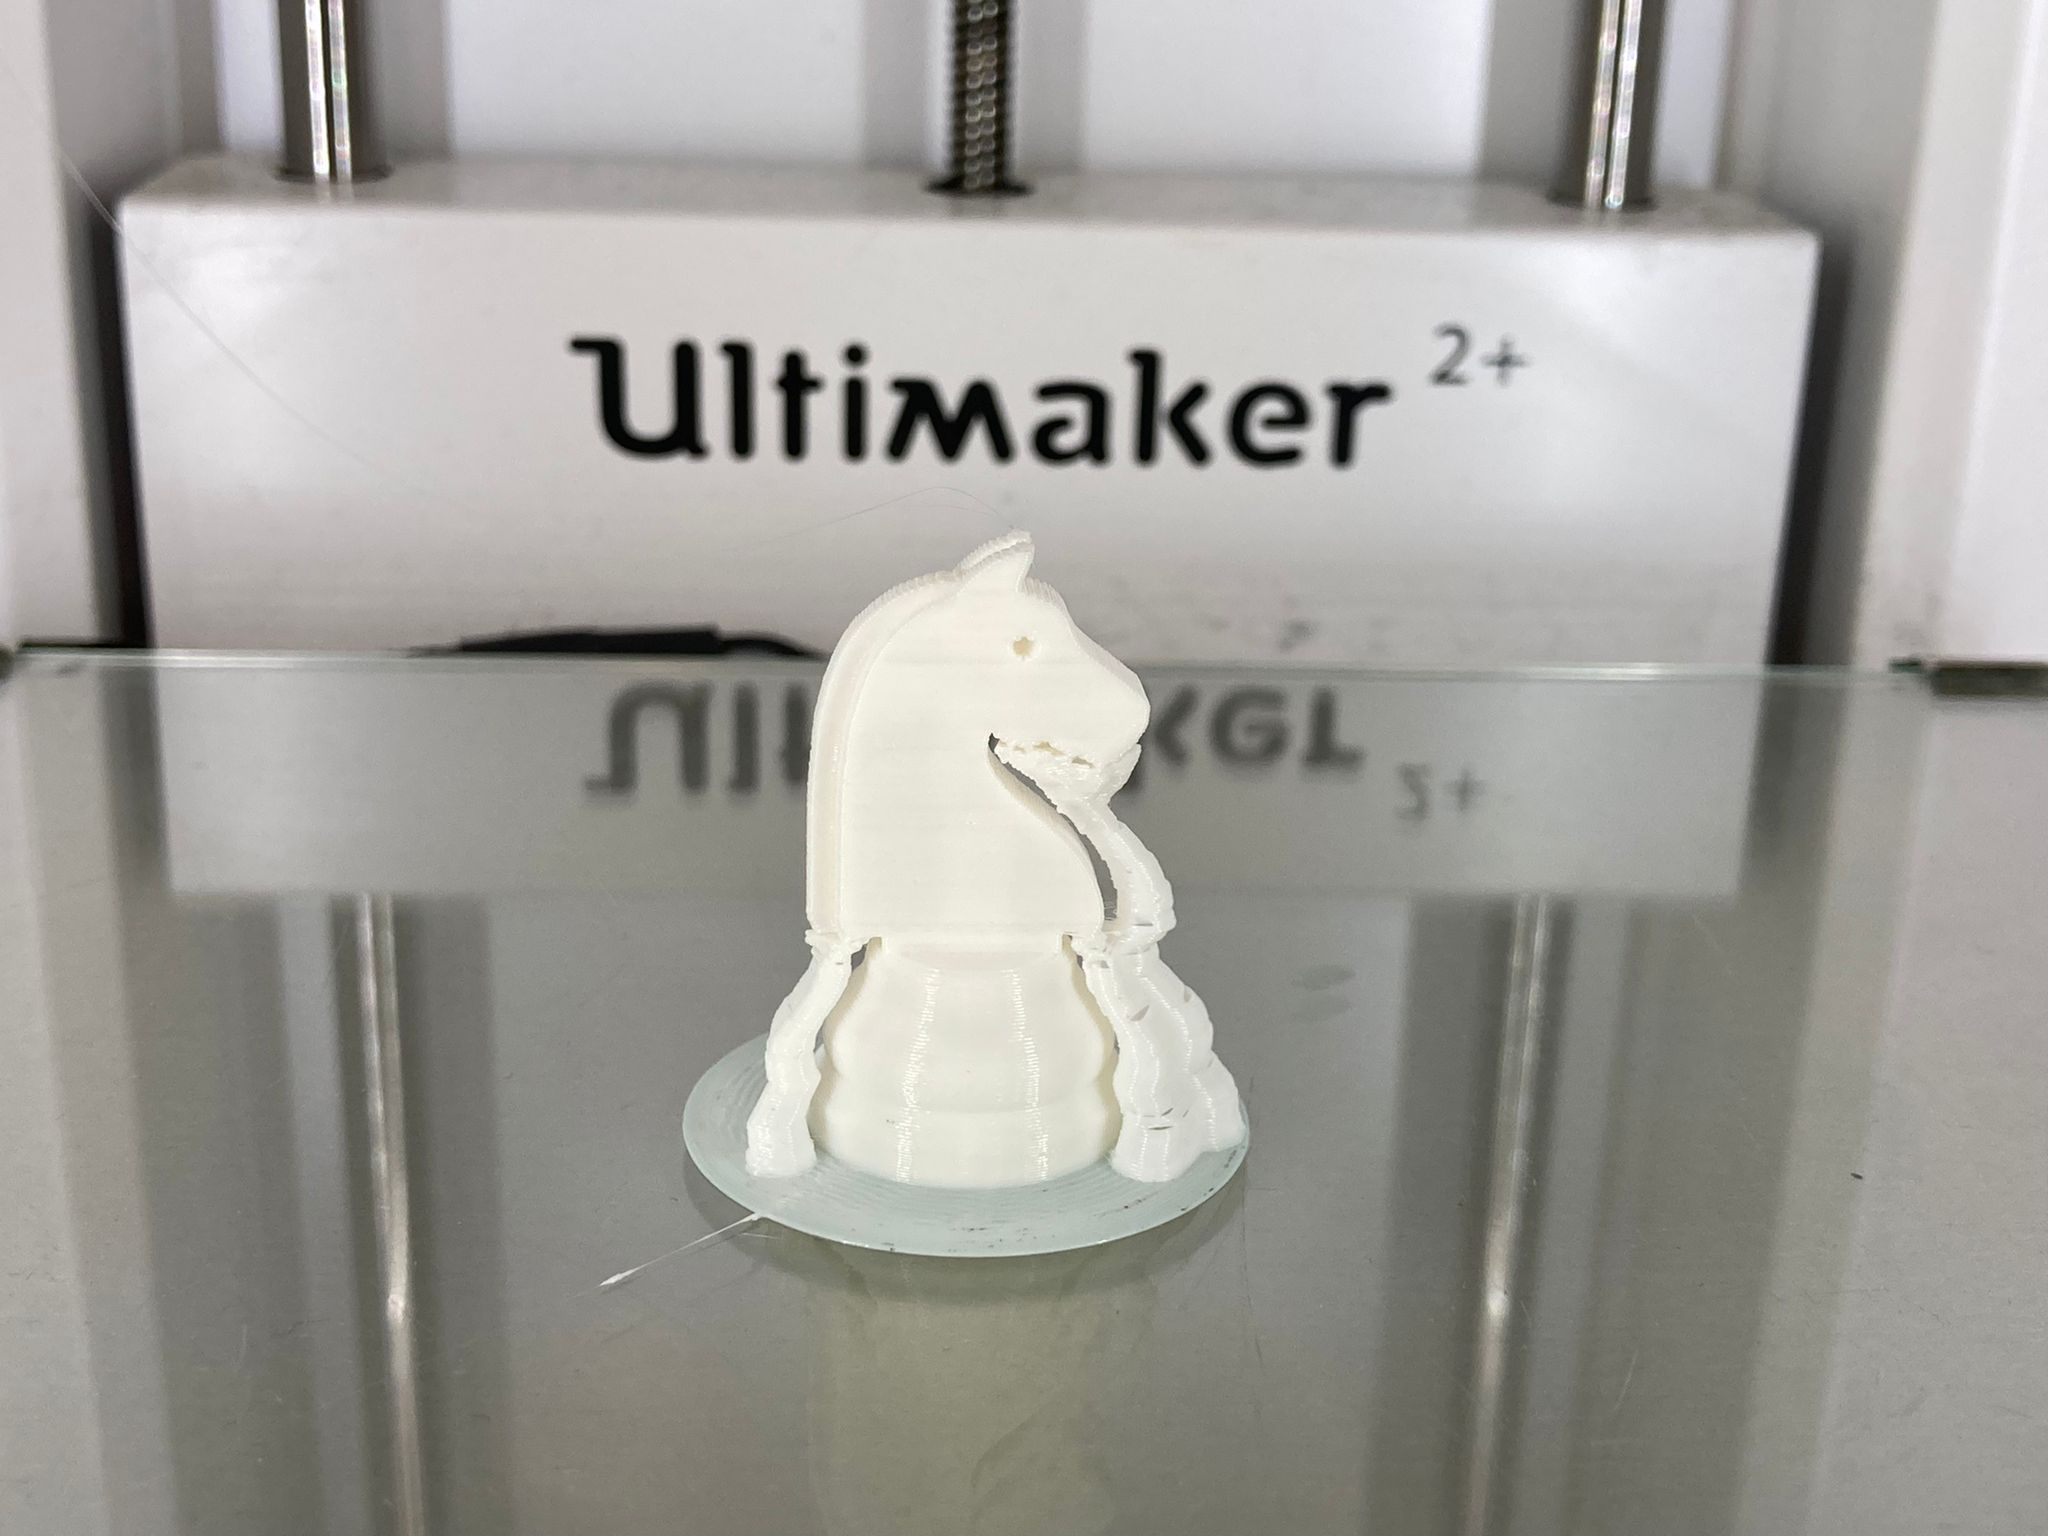
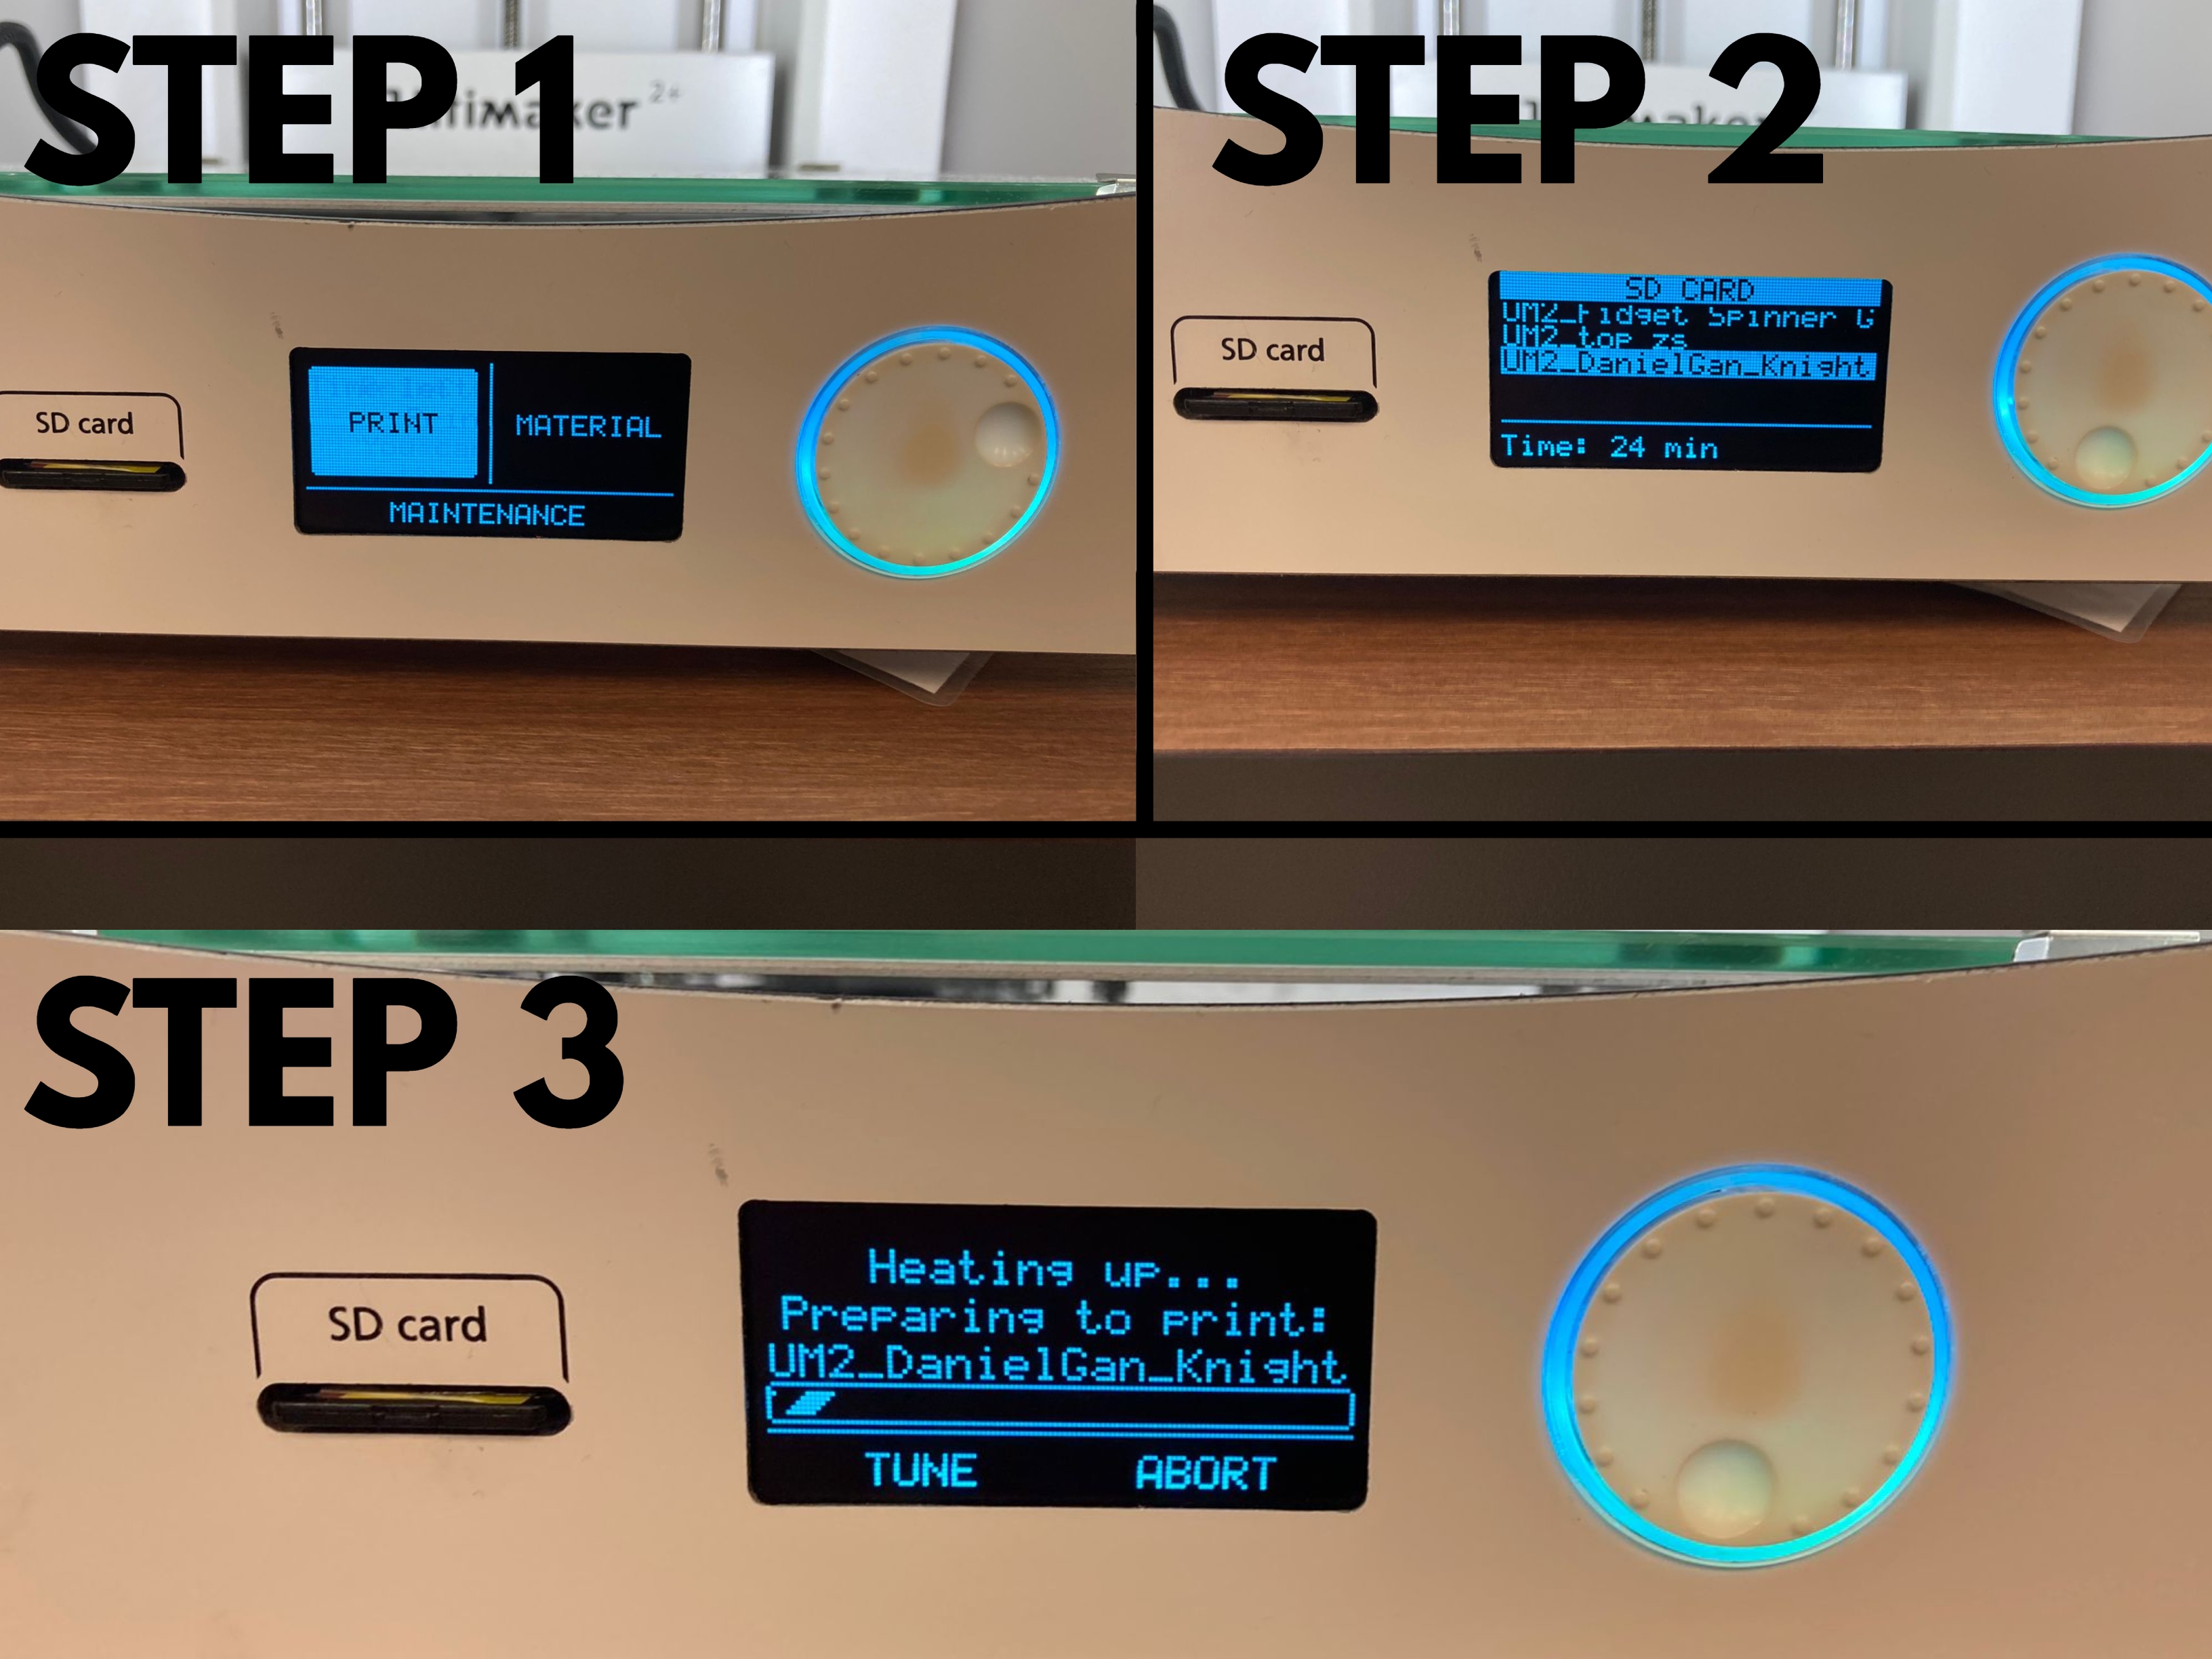
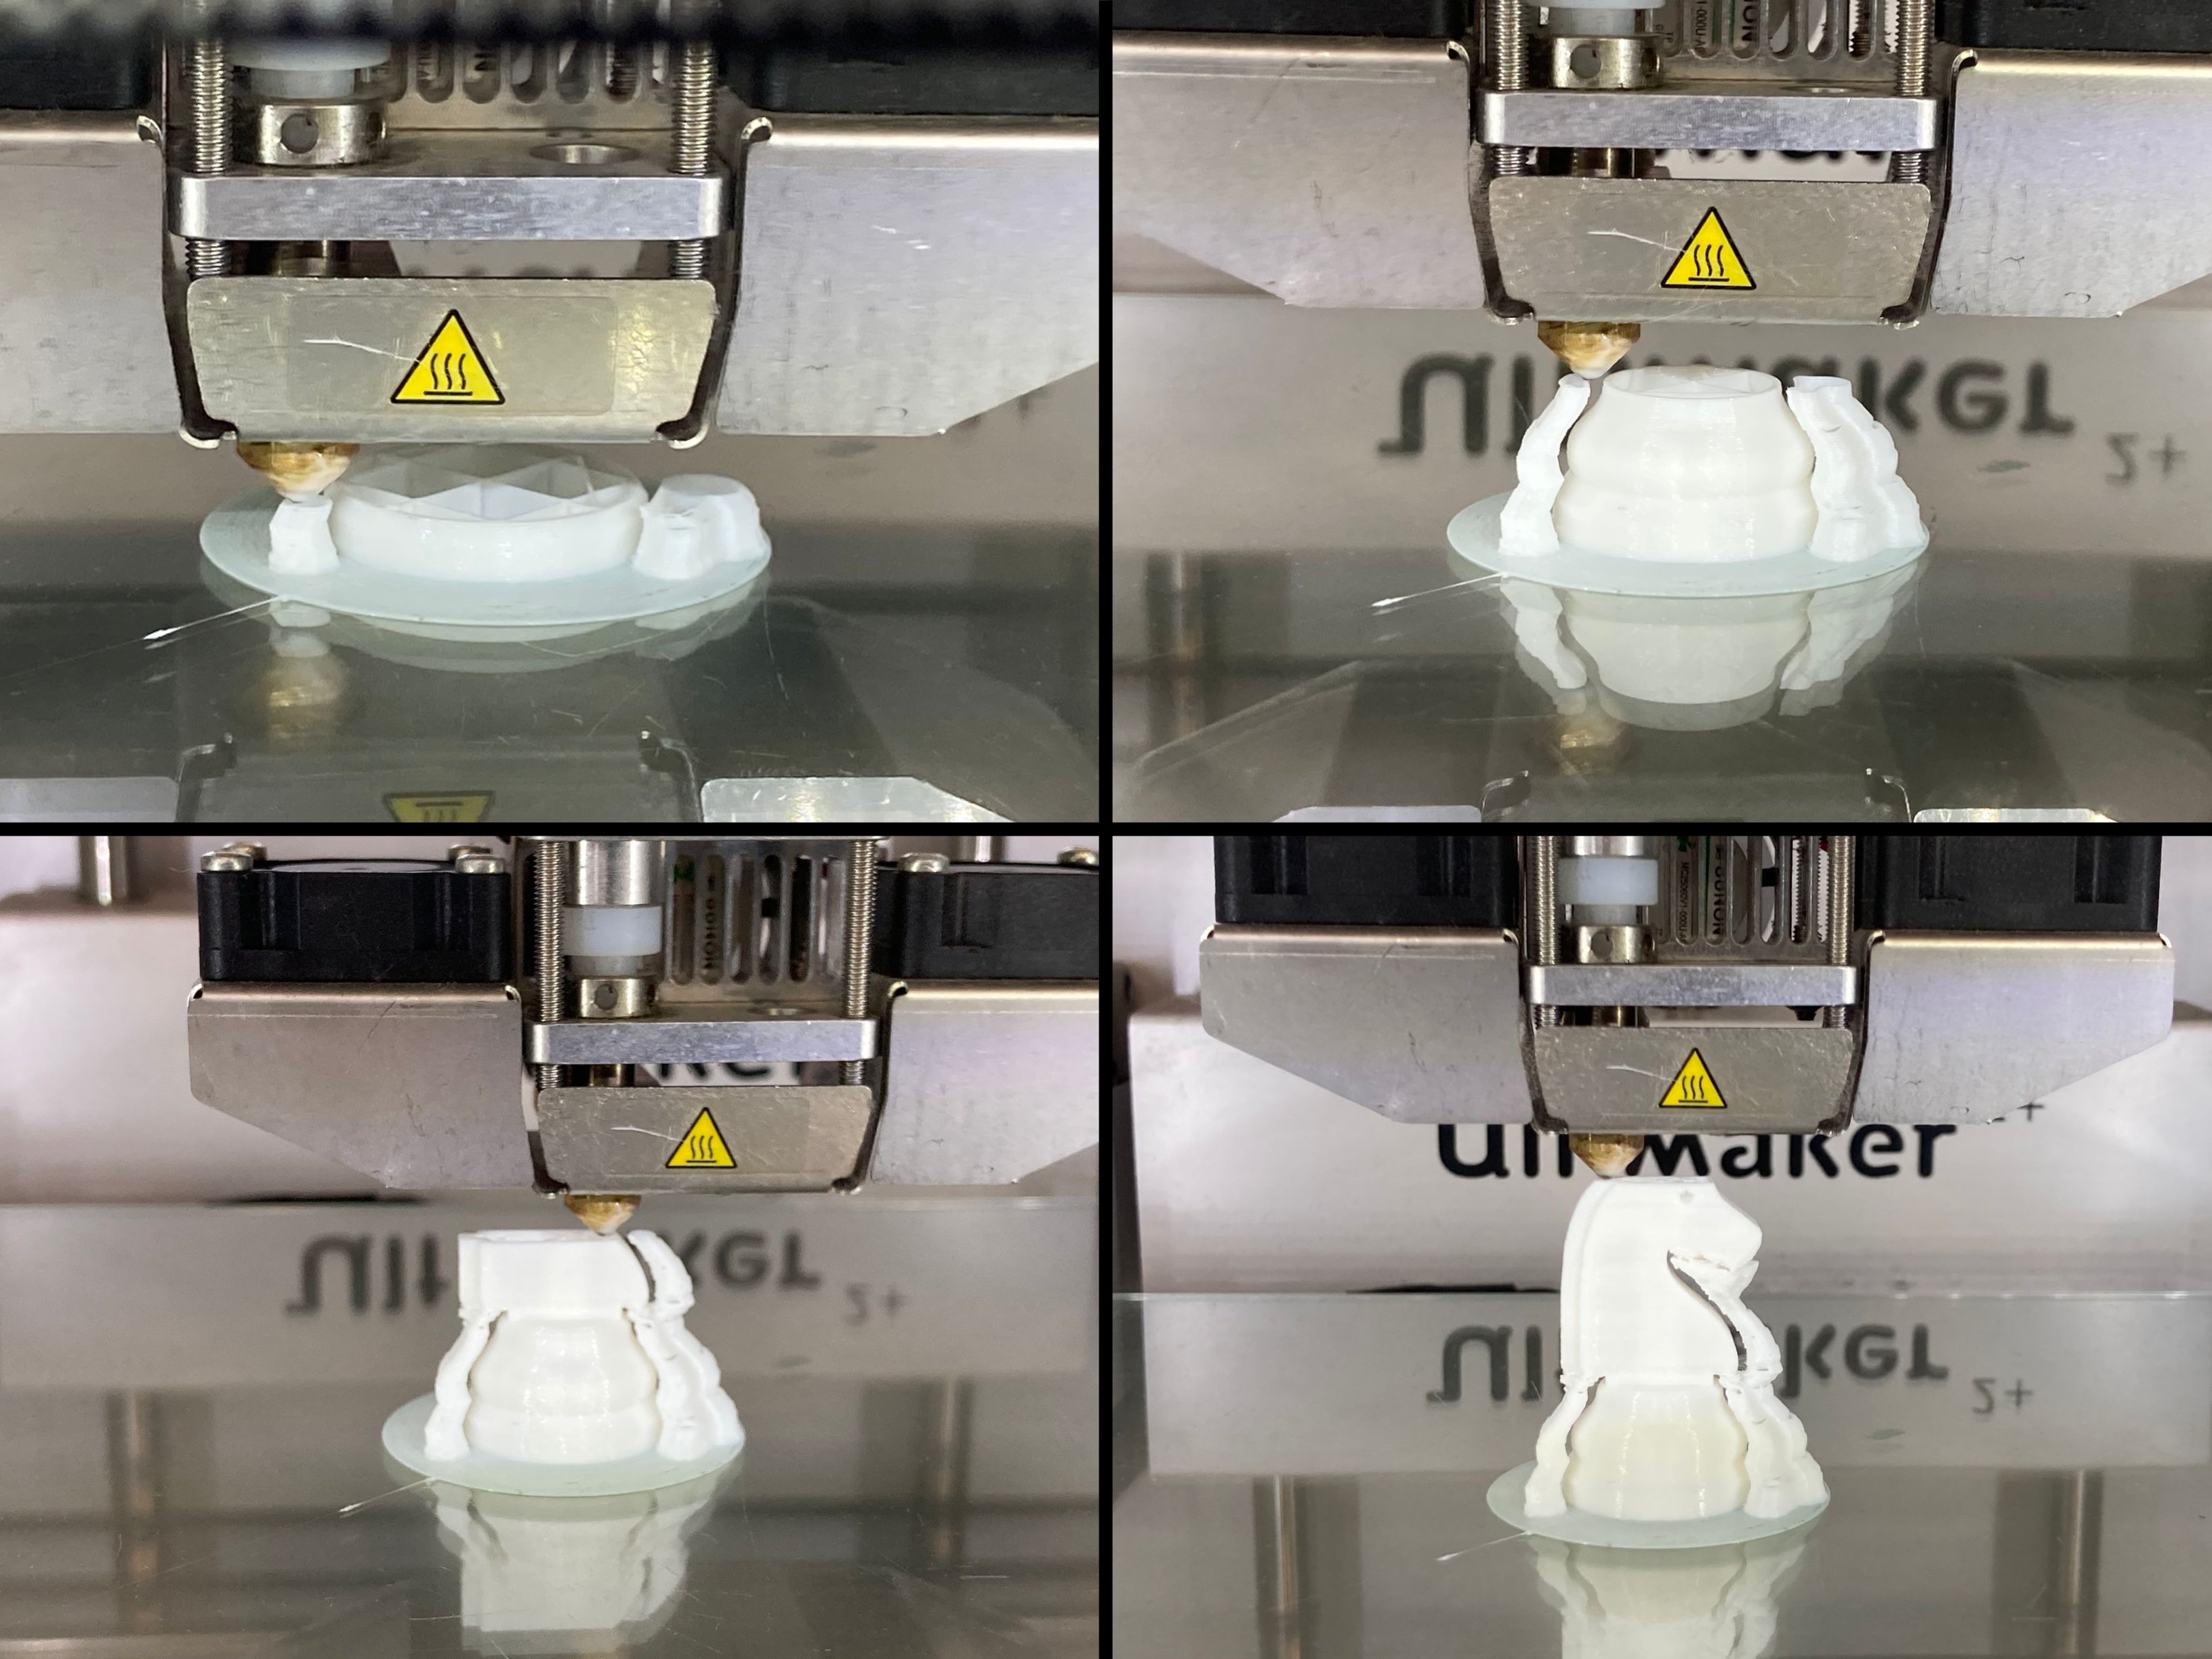
First, insert the SD card into the Ultimaker 2+ printer. Then press print before scrolling around to find and select the knight chess piece file. Lastly, wait for the printer to heat up its bed before watching it print out the chess piece.
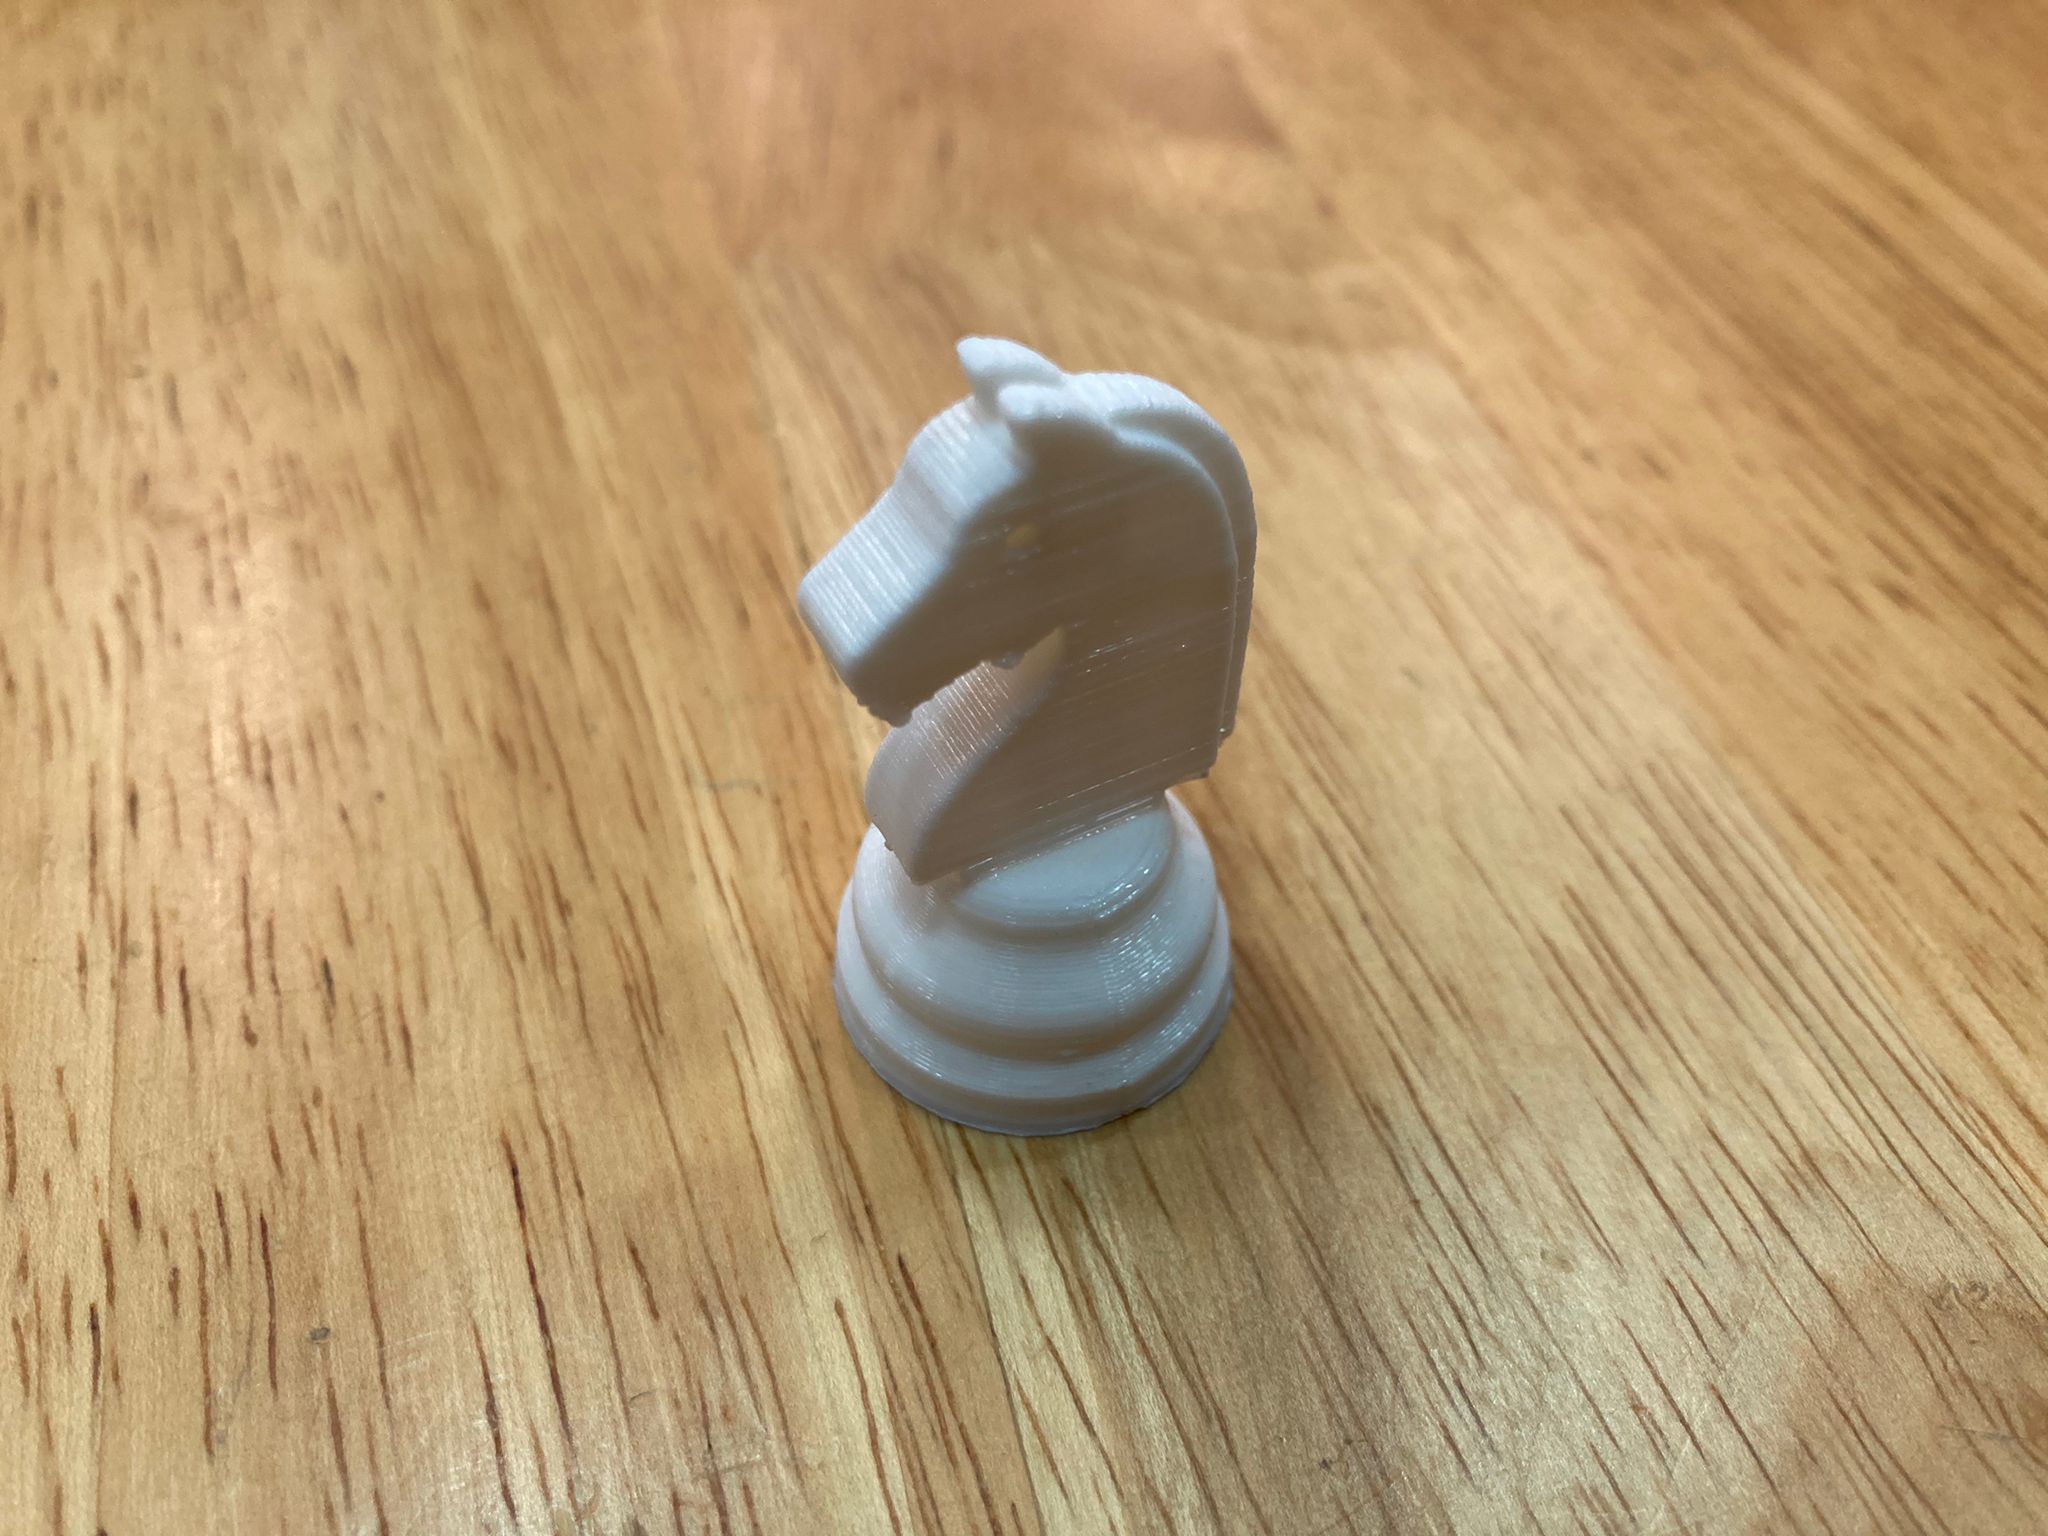
After the printer is done printing, you would have to leave the chess piece to cool down till around 45 degrees before removing it. Then, remove all the supports using a cutter and file before you can get your final product.